Markup Tools
Edit and Markup
The Edit and Markup frame, located on the right side of the screen, allows you to add stamps, checkmarks, and custom text directly to a form.


Stamps
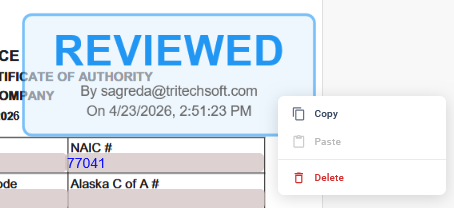
Five stamp options are available: Approved, Reviewed, Amended, Revised, and E-filed.
To place a stamp, select the desired option, move your cursor to the appropriate location on the form, and click to apply it. To reposition a stamp, click and drag it to a new location.
Right-clicking on a stamp provides options to copy, paste, or delete.

Checkmarks
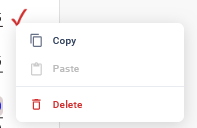
The Checkmark option allows you to place checkmarks anywhere on the return. These are commonly used to indicate reviewed items.
Right-clicking on a checkmark provides options to copy, paste, or delete.
Custom Text
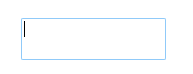
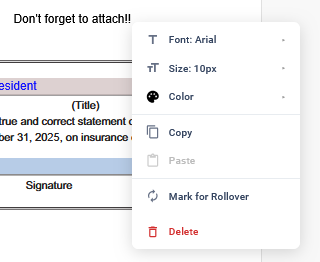
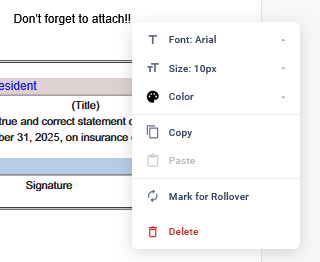
The Typewriter option allows you to add custom text anywhere on the form.
To add custom text, select the icon and click the desired location. A text box will appear where you can enter your custom text. Click outside the text box to save.

Printing Behavior
By default, stamps and checkmarks are not included when printing, but custom text will print.
To include stamps and checkmarks in the output, update your Print Options by clicking the gear icon in the top right-hand corner and selecting the desired settings. After downloading the PDF again, stamps and checkmarks will be included.
Move, Copy, Paste, or Delete Markup Items
To move, copy, paste, or delete markup items, the Edit and Markup frame must be open.